€ EUR
 France (Mainland and Corsica)
France (Mainland and Corsica)
International settings
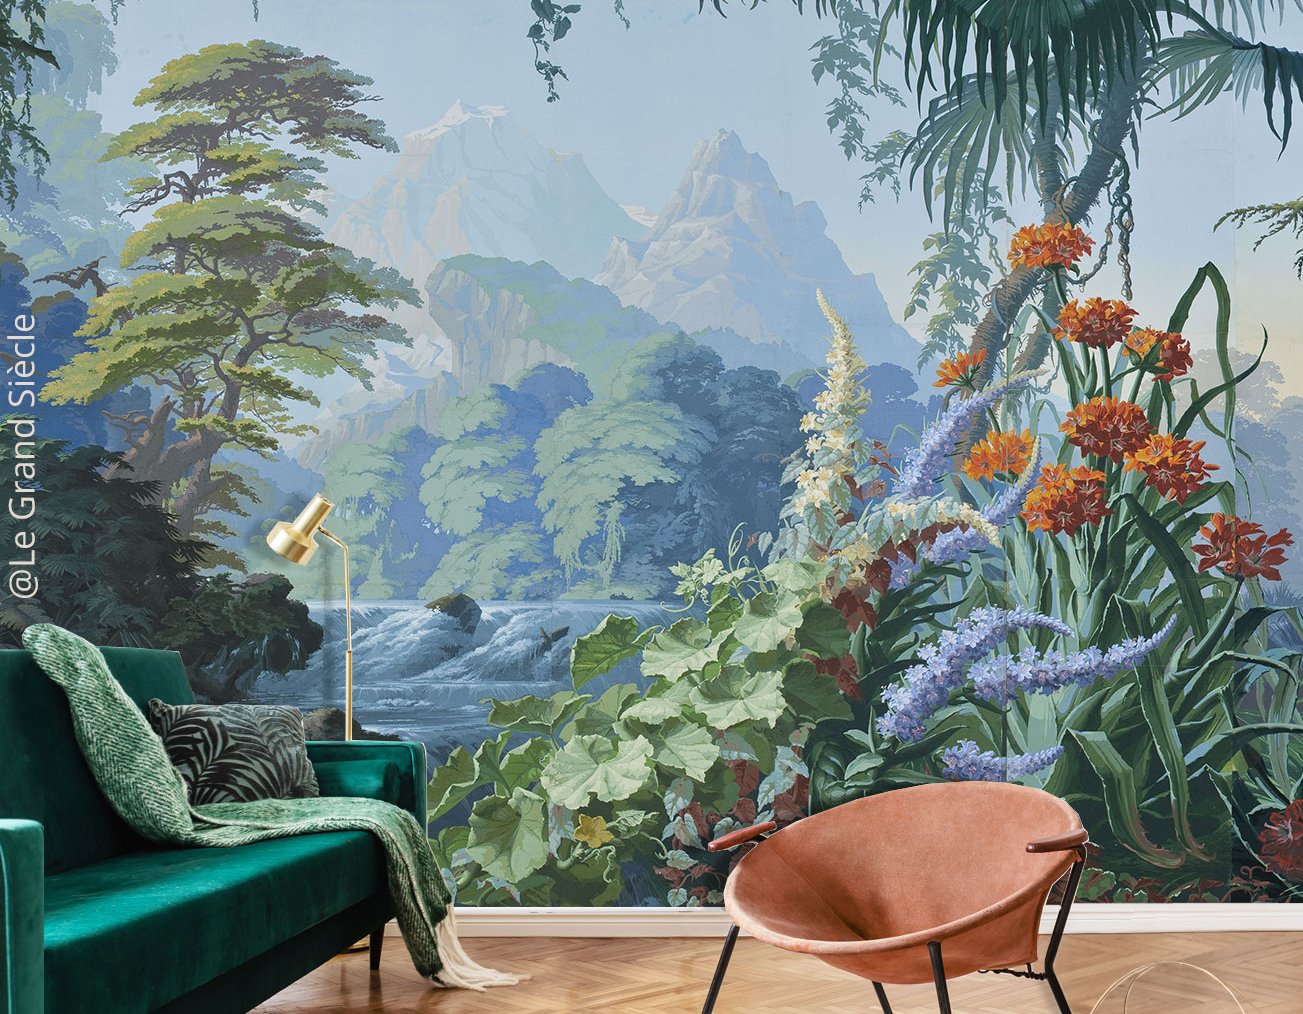
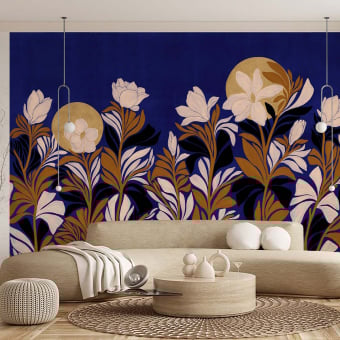
Wallpaper & Mural
Wallpaper
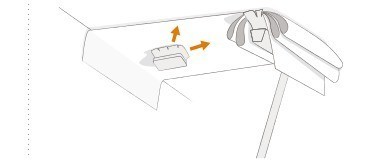
Mural
- Patterns
- Geometric wallpapers
- Floral wallpapers
- Semi-plain wallpapers
- Plain-coloured wallpapers
- Striped wallpapers
- Checked wallpapers
- Fantasy wallpapers
- Animal skin wallpapers
- Children's wallpapers
Manufacturer
Our collaborations
- Etoffe.com x Bleu Cobalt
- Etoffe.com x Claire Prouvost
- Etoffe.com x Olivier Morel
- Etoffe.com x Jean Mallard
- Etoffe.com x Catherine Prigent
- Etoffe.com x Claire de Quénetain
- Etoffe.com x Agence Musées Nationaux
- Etoffe.com x Papier Français
- Etoffe.com x Murmur
- Maison Images d'Epinal
- See all our collaborations

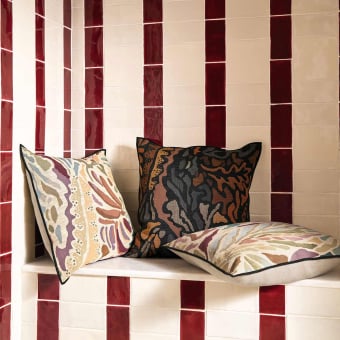
Furnishing fabric
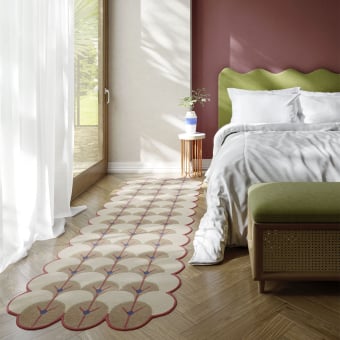
Rug
Manufacturer
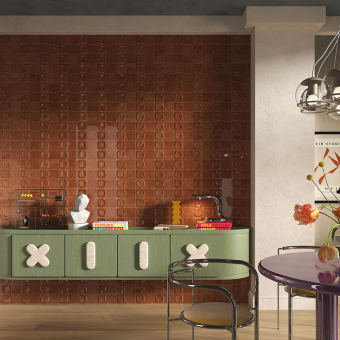
Tile
Types
- Usage
- Floor tile
- Wall tile
- Outdoor tile
- Swimming pool tile
- Shower interior tile
- Credenza tile Laying and maintenance
Manufacturer
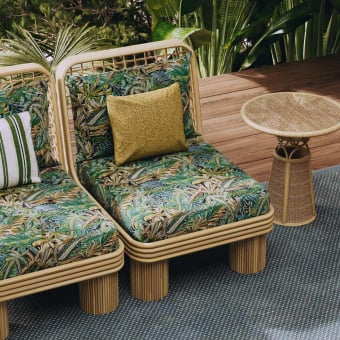
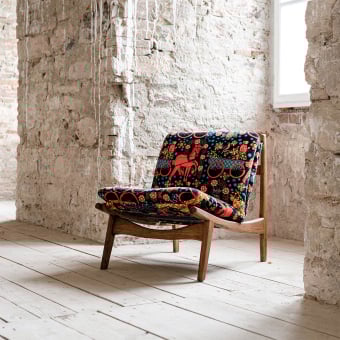
Furniture
Manufacturer
Decoration
Manufacturer
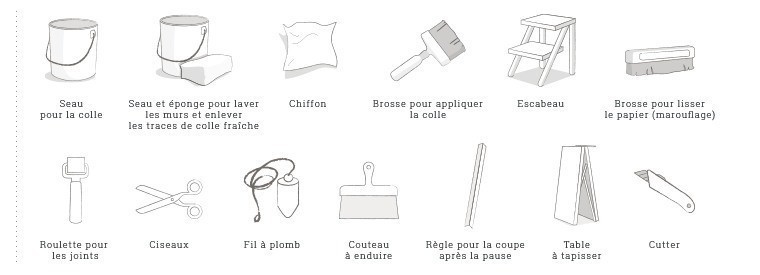
 Types of join: